How to Unclog a Drain: DIY Methods for Homeowners
November 6, 2024
How to Fix Low Water Pressure in Your Home: Simple Solutions
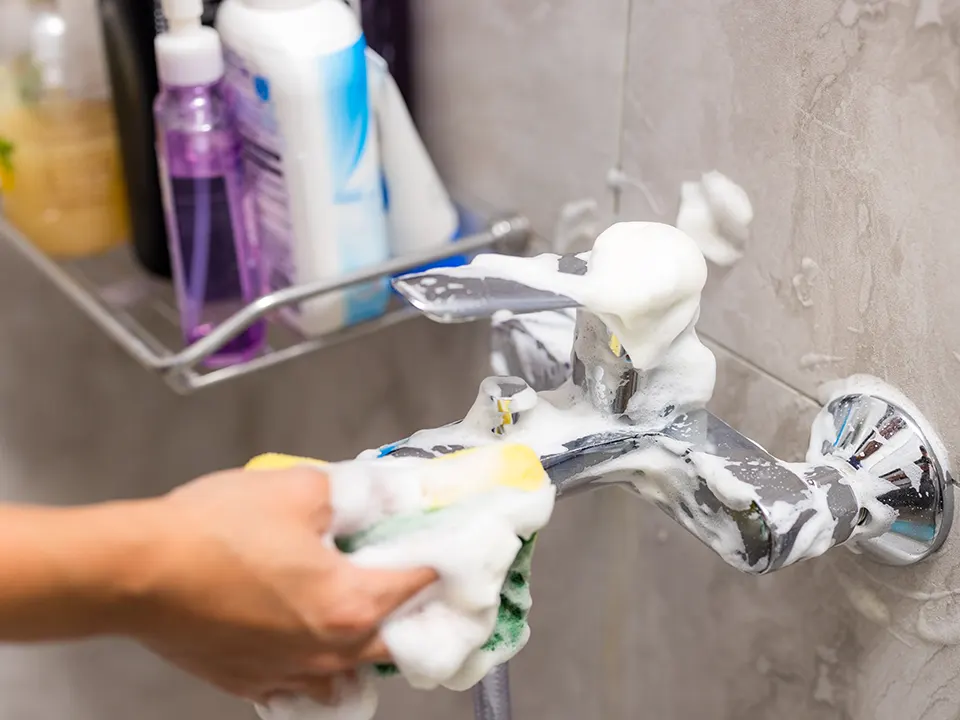
December 13, 2024A leaky bathroom or kitchen faucet is one of those household annoyances that can creep up on you out of nowhere. The constant dripping not only tests your patience but can also lead to higher water bills over time. Luckily, fixing a leaky faucet isn’t as hard as it seems—and you don’t need to be a professional plumber to get the job done! With a few tools and some know-how, you can tackle this small but important repair. Let’s walk through how to fix a leaky faucet in 7 simple steps.
Tools and Supplies You’ll Need to Fix a Dripping Faucet:
Before getting started, gather the following tools and supplies. Most of these can be found at your local hardware store if you don’t already have them at home:
- Flat-head screwdriver
- Needle-nose pliers
- Replacement parts (specific to your faucet type)
- Adjustable wrench
- Plumber’s tape
- Rags or towels
- Bowl or bucket (to catch water)
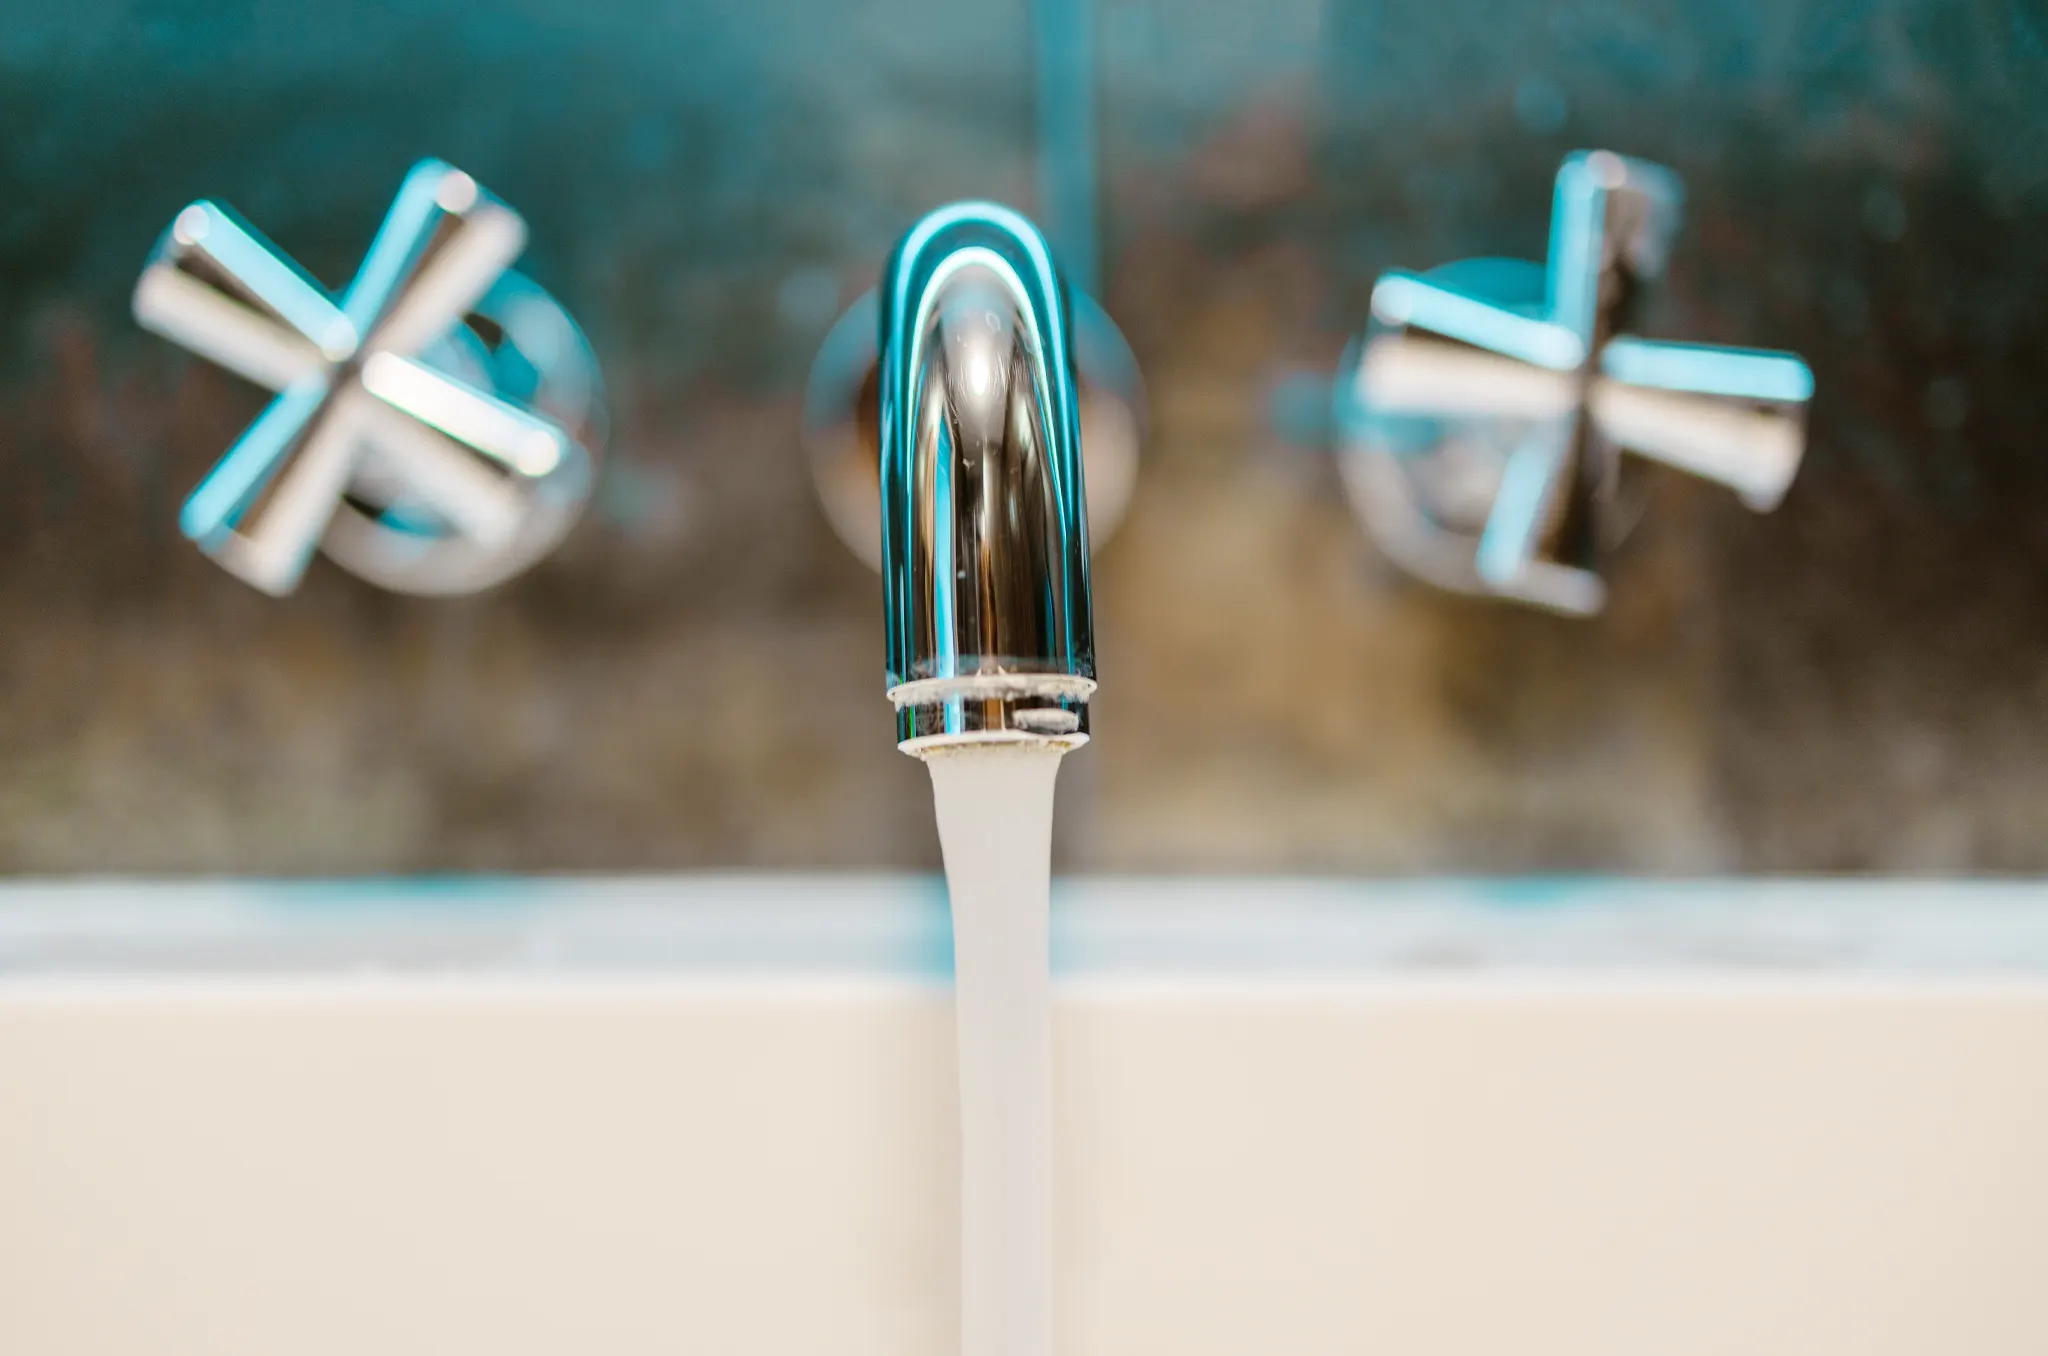
Step 1: Identify the Type of Faucet
First things first: figure out what kind of faucet you’re dealing with. Common types include compression faucets, cartridge faucets, ball faucets, and ceramic disk faucets. Compression faucets are the most likely to leak, as they use rubber washers that can wear out over time. Determining your faucet type will help you find the correct replacement parts.
Step 2: Turn Off the Water
This is a critical step! Locate the water supply valves under your sink and turn off the water to prevent a flood while you work. If you’re unsure which valve goes to the leaky faucet, turn off the main water supply to your home while working. Once the water is off, turn the faucet handles to the “on” position to drain any remaining water from the pipes.
Step 3: Remove the Faucet Handle
Use a flat-head screwdriver to gently remove the cap covering the screw on top of the faucet handle. Once the cap is off, use the screwdriver or an adjustable wrench to unscrew the handle. Carefully lift it off to expose the inner workings of the faucet.
Pro tip: Place all screws and small parts in a bowl or container so you don’t lose them while working.
Step 4: Inspect the Valve Seat and Washer
Now that the faucet handle is removed take a close look at the valve seat and washer inside the faucet. If you have a compression faucet, the washer is likely the culprit for the leak, as these rubber pieces can wear out over time. Check for cracks, tears, or obvious signs of wear.
For other faucet types, inspect the cartridge or ball mechanism for damage. If anything looks worn out or damaged, you’ll need to replace it.
Step 5: Replace the Worn-Out Parts
Head to your local hardware store with the worn-out part in hand to find the correct replacement. Be sure to get a part that matches your type of faucet (compression, cartridge, ball, or disk). Once you’ve got the replacement part, it’s time to install it.
Use needle-nose pliers or your hands to remove the old washer, cartridge, or O-ring, and carefully insert the new one in its place. If you’re replacing the washer, make sure the size matches perfectly, as even small differences can cause leaks.
Step 6: Reassemble the Faucet
Once the new part is in place, put the faucet back together in the reverse order you took it apart. Replace the valve seat, tighten the screws, and put the handle back on. Be sure not to overtighten, as this could damage the parts or strip the screws, leading to another repair.
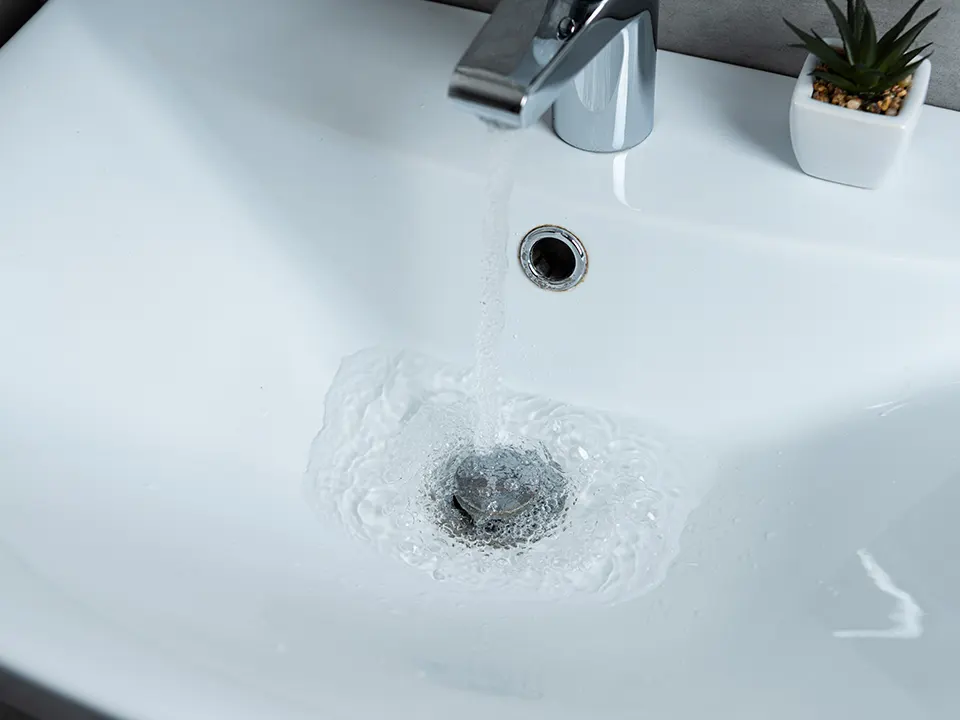
Step 7: Turn the Water Back On and Test
Now comes the moment of truth! Turn the water supply back on and test your newly repaired faucet by turning it on and off. Check for any leaks around the handle or spout. If everything is dry and working smoothly, congratulations—you’ve just fixed your leaky faucet!
If the faucet is still dripping, double-check that all parts were installed correctly and that they fit snugly. Persistent leaks may require a professional plumber to inspect the issue further.
Common Questions About Fixing a Leaky Faucet:
1. What if I don’t know my faucet type?
If you’re unsure about the type of faucet you have, take a photo of it and show it to an expert at your local hardware store. They can usually help you identify it and recommend the right replacement parts.
2. Can I fix a leaky faucet without shutting off the water?
Nope! You risk flooding your bathroom or kitchen if you don’t shut off the water before starting the repair.
3. How do I know if I need to replace the faucet entirely?
If the faucet leak persists even after replacing the internal parts, or if the faucet is severely corroded, it may be time for a complete replacement.
Tips to Prevent Future Faucet Leaks:
- Perform Regular Maintenance: Every now and then, be sure to check your faucets for small drips or loose parts and address them early.
- Avoid Excessive Force: Don’t overtighten faucet handles when turning off the water—it puts unnecessary strain on the internal components.
- Use Quality Parts: Investing in good replacement parts ensures a longer-lasting repair
When to Call a Plumber
While fixing a leaky faucet is usually straightforward, there are times when calling a professional is the best move. If your faucet repair involves complex plumbing or if you discover more extensive issues like corroded pipes or major water damage, a professional can handle the situation safely and efficiently.
A leaky faucet might seem like a small problem, but ignoring it can lead to bigger issues, like wasted water and higher bills. With these easy-to-follow steps, you can tackle the issue head-on and save yourself some cash in the process. So grab your tools, head to your local hardware store, and give that faucet a little TLC. If you're more of a visual learner, check out this tutorial for help.
If this sounds like too much work, or you're having trouble with any of the steps, give us a call at Plumb Pro! We offer same-day emergency plumbing appointments in Kelowna to get you right as rain in no time. Learn more about our services or call us right away at 778-214-3052