What to Do When Your Toilet Won’t Stop Running
December 26, 2024
How to Fix a Slow Draining Sink: Quick Solutions for Common Problems
January 22, 2025Replacing a showerhead may seem like a job for a plumber, but it’s actually an easy DIY project. It’s a simple, affordable way to improve water flow, save water, boost energy efficiency, and refresh your bathroom without a big renovation. In this guide, we'll walk you through the process of replacing your showerhead step by step.
Choosing the Right Replacement Showerhead
Before installing a new showerhead, it’s important to consider different types of showerheads. Most people wonder if all showerheads fit every shower. The majority of showerheads have the same connection threading size on an ½ in. Here are several types of showerheads to choose from:
- Fixed showerheads: These are the standard types, mounted on the wall and designed to stay in one place.
- Handheld showerheads: These come with a flexible hose that gives you more control over the direction of the water.
- Rain showerheads: A more luxurious option, these showerheads are larger and designed to give you a gentle, rainfall-like experience.
When choosing your new showerhead, keep these factors in mind:
- Water pressure: If you have low water pressure, look for a showerhead designed to boost it.
- Eco-friendliness: Consider water-saving models that reduce the amount of water consumption without sacrificing shower quality.
- Style: Match your new showerhead to the overall style of your bathroom. Whether you want sleek and modern or vintage-inspired, there are plenty of options.
Once you’ve chosen your showerhead, you’re ready to get started on the replacement process.
Step 1: Turn Off the Water and Prepare the Area
Before doing any work, it's a good idea to turn off the water supply. Although you might not need to turn off the main water supply for this job, it's a good habit to ensure no water comes out during the process.
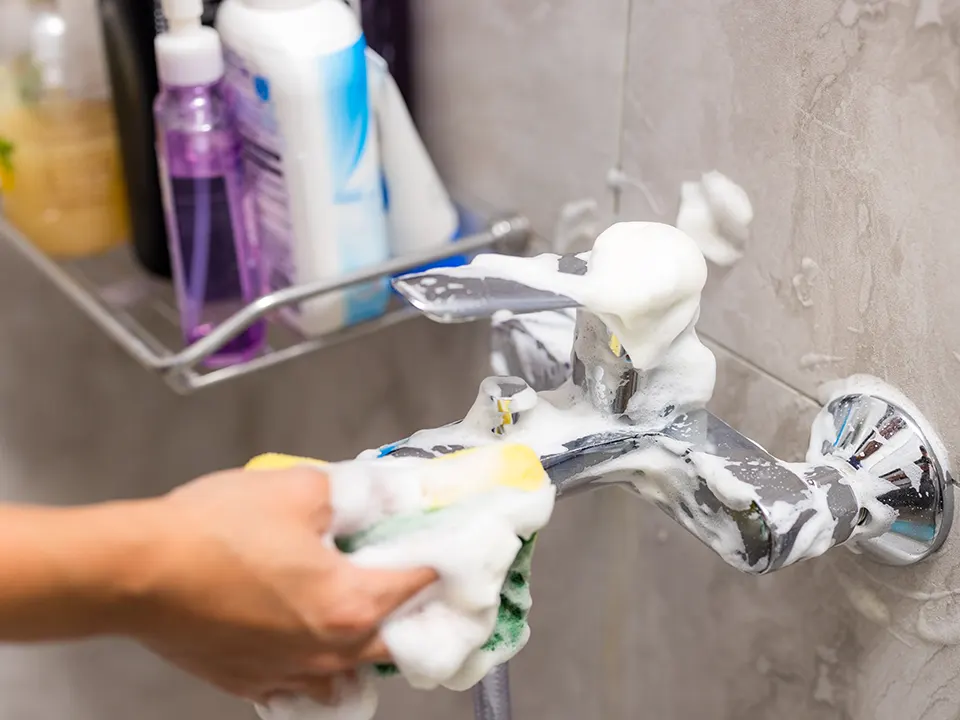
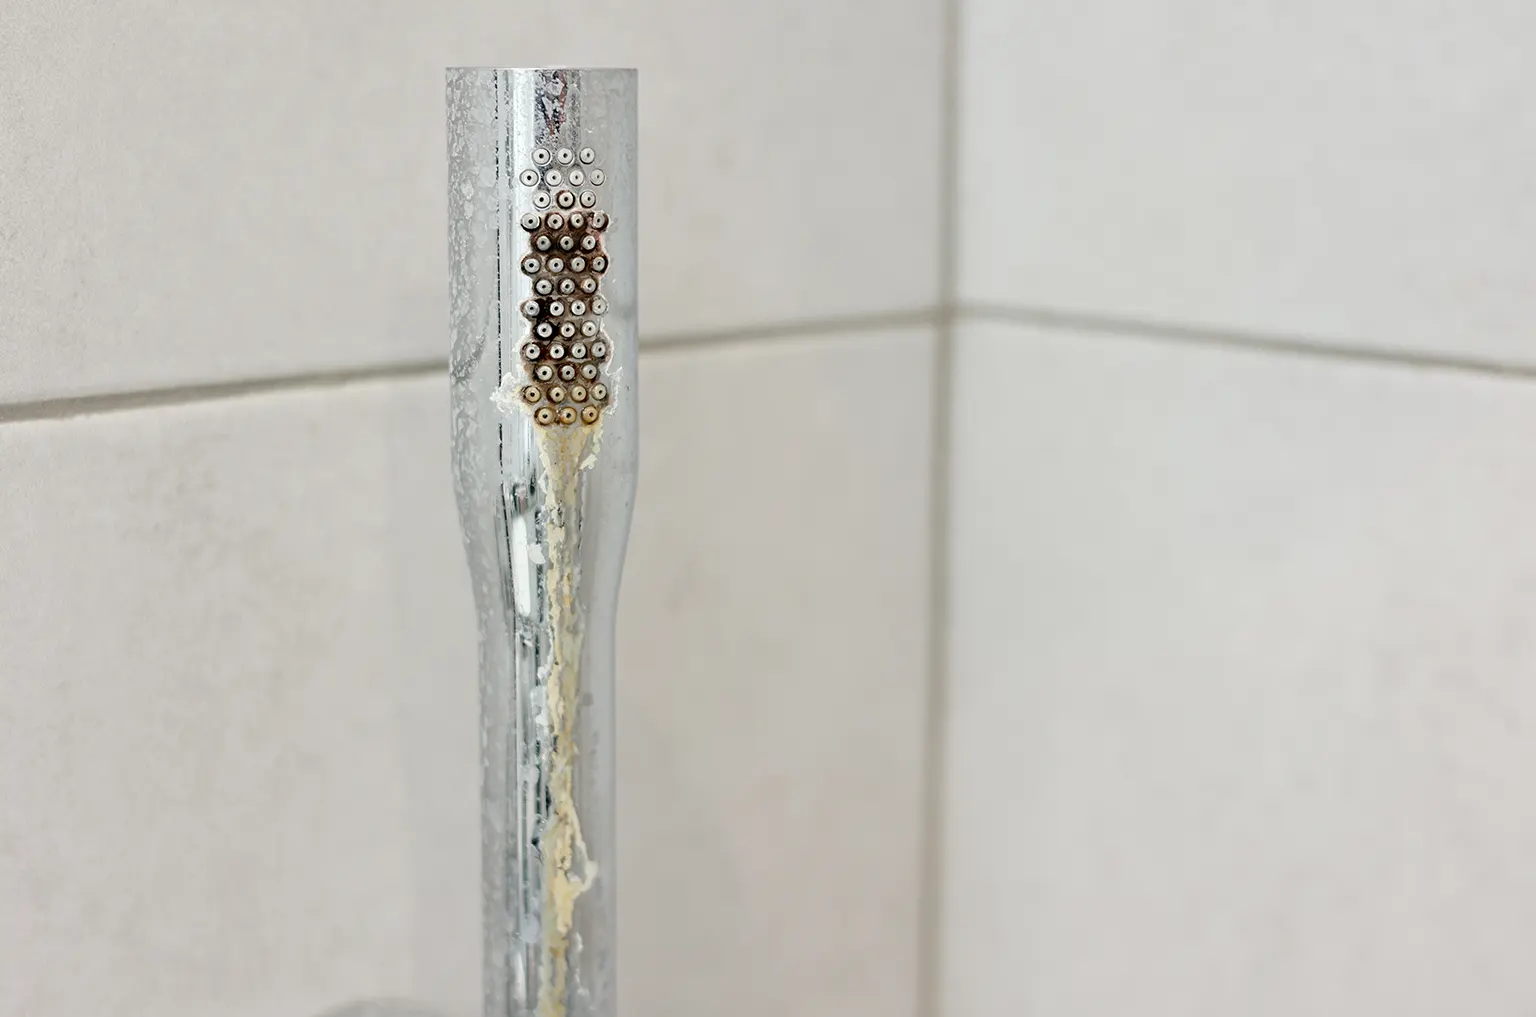
Next, clean the area around your showerhead. This makes sure you’re working with a clean surface and also allows you to inspect any mineral buildup or grime that might have accumulated over time. Use a cloth or sponge to wipe down the area.
If you notice any mineral buildup on the showerhead or the arm, soak a cloth in vinegar and wrap it around the affected area. Let it sit for 30 minutes to loosen the buildup.
Step 2: Unscrew the Old Showerhead
Now, it’s time to remove the old showerhead. Start by unscrewing it from the shower arm. Most showerheads are threaded, so you can begin unscrewing them by hand. If the showerhead is stuck, use pliers to loosen it, but be careful not to damage the finish on the shower arm.
If you're having trouble loosening the old showerhead, you can wrap a cloth around it to protect it while using pliers. If the showerhead is really stuck, you may want to use an adjustable wrench, but be gentle to avoid breaking the pipe.
Step 3: Inspect and Clean the Threads on the Shower Arm
Once you’ve removed the old showerhead, take a close look at the threads on the shower arm. These are the threads that the new showerhead will screw into, so you want them to be clean and free from damage. Use a cloth to wipe off any debris or mineral buildup.
Check the threads for any signs of wear or damage. If the threads look worn or stripped, it might be a good idea to replace the shower arm before installing the new showerhead.
Step 4: Apply Teflon Tape to the Shower Arm
To make sure your new showerhead fits securely and doesn’t leak, you’ll need to apply Teflon tape (also called plumber's tape) to the threads of the shower arm. This tape creates a watertight seal between the shower arm and the new showerhead.
To apply the tape, wrap it around the threads of the shower arm in the direction of the threads (usually clockwise). Ensure that you wrap the thread evenly, but don’t overdo it. Two or three wraps are typically enough.
Step 5: Attach the New Showerhead
Now that the shower arm is prepped, it’s time to attach your new showerhead. Take the new showerhead and screw it onto the shower arm by hand. It should screw on easily. Once it's hand-tightened, you can use a wrench to give it a final twist, but be careful not to overtighten it. Over-tightening can damage the threads and cause leaks.
If your showerhead came with a gasket or rubber washer, make sure it's placed correctly inside the showerhead connection. This helps create a better seal and prevents leaks.
Step 6: Test the New Showerhead for Leaks
Now that the new showerhead is in place, it’s time to test it. Turn the water back on and check for any leaks around the base of the showerhead. If you notice any water leaking, it’s likely that the showerhead isn’t screwed on tight enough or the Teflon tape didn’t create a proper seal.
To fix this, turn the water off again and use the wrench to tighten the showerhead just a little bit more. If you still see leaks after tightening, it could be an issue with the Teflon tape or the gasket. You may need to reapply the tape or replace the washer.
Once you’re sure there are no leaks, enjoy your newly installed showerhead!
Step 7: Optional Upgrades and Accessories
Now that your showerhead is replaced, you might want to consider some upgrades and accessories. Here are a few options to make your shower even better:
- Water filter: If you're worried about water quality, consider adding a showerhead filter. It helps remove chlorine and other impurities, which can be better for your skin and hair.
- Dual showerheads: If you want more flexibility, consider installing a dual showerhead system. These systems typically include both a fixed and handheld showerhead, so you can switch between them depending on your needs.
- Water-saving adapter: Want to save some water? Many showerheads come with built-in water-saving features, but you can also purchase an adapter to reduce water flow while still maintaining a satisfying shower experience.
Enjoy Your New Showerhead
Replacing a showerhead can be a simple and affordable project with the proper steps. With this quick DIY, you can enjoy improved water pressure, water savings, and a refreshed bathroom.
If you need assistance to replace a shower head or prefer professional help, feel free to contact us for expert plumbing services. We're here to handle all your plumbing needs!


